| use arrows to turn the pages. |
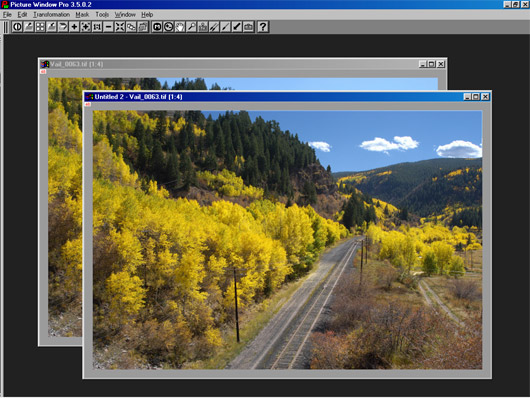
Since the images were shifted a little, you can see a light blue line on the top and at the right of the composited image. This can be removed by cropping or using the clone tool (which I did as will be seen in “Untitled 4 – Vail_063” in the next desktop view). The image is nearly finished, but the Aspen trees when I took the original picture were very bright, although they were in partial shade of some clouds. I want to make them brighter and improve the detail in the leaves. There are several ways to do this, but I’ll use a “contrast mask” as was shown in the first section on masking. Such a mask, made using the Brightness Curve mode of the Mask window, can provide fine nonlinear control of brightness and saturation.
To make a “contrast mask” open the Mask tool window and select the Brightness Curve button (right-most mask tool button). You can click the “eyedropper” button on the Brightness Curve tool set and then view the brightness range of the foreground trees – I found it fell between the top (rightmost) levels and about three divisions of the histogram down from the top. I then moved the bottom right of the histogram transformation line to the right, almost to the third division down from the right side (as seen below). This should provide a continuous tone mask that separates the tone of the tree area well.

| use arrows to turn the pages. |